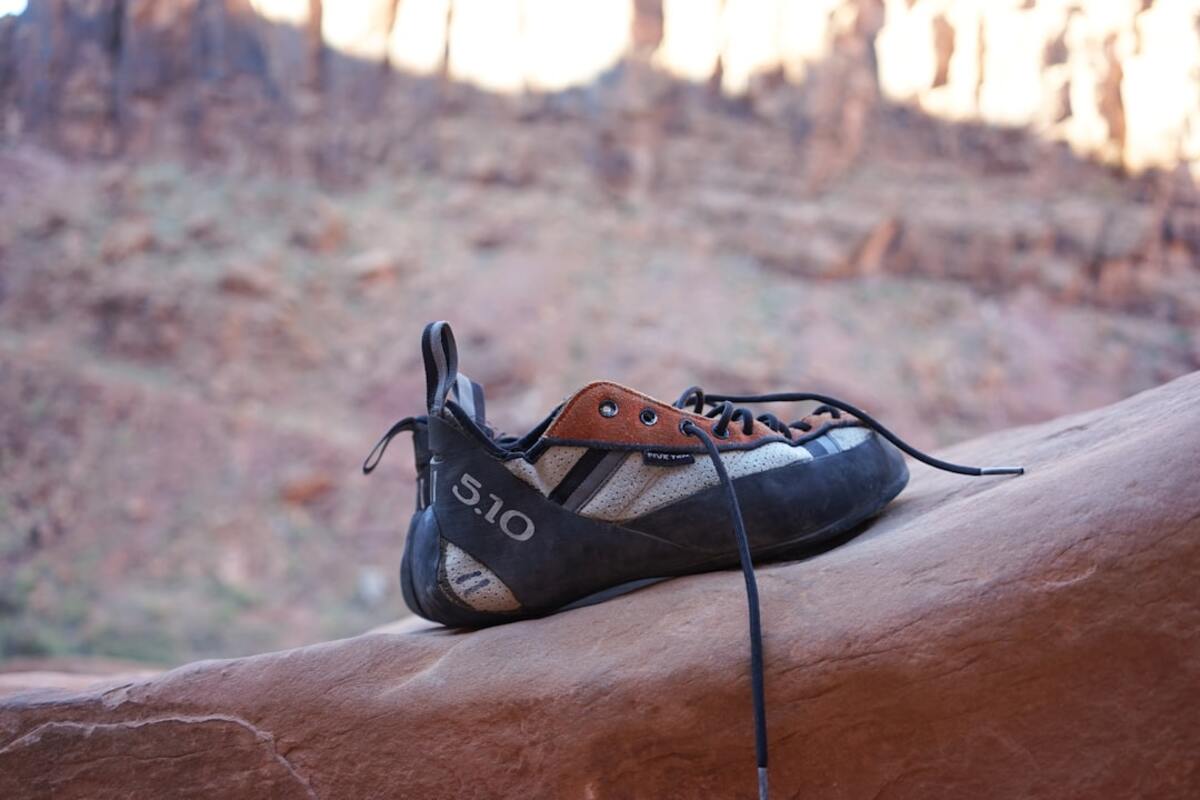
Phone-Scanned 3D-Printed Insoles for Hikers: Custom Support Without the Boot Shop
A new wave of app-guided foot scans and 3D-printed insoles is reshaping trail comfort. Here’s how phone-made, custom-fit inserts can reduce hotspots, improve stability, and carry you farther with less fatigue.
- App-based foot scans now generate hiking-ready, 3D-printed insoles tailored to your arches and gait.
- Zoned lattices and TPU shells balance cushion, control, and durability across long-mile days.
- Fit success hinges on good scans, careful trimming, slow break-in, and mindful care on trail.
Blisters, arch ache, and tired feet might be the most reliable trip-enders in hiking. For decades, the fix has been a mashup of generic insoles, tape, and hope. Custom orthotics helped many, but the usual path meant appointments, plaster casts, long waits, and prices that could eclipse your boot budget. A newer option is changing that equation: phone-scanned, 3D-printed insoles built from your own foot geometry, delivered to your door.
These app-based systems use your phone's cameras to capture foot length, arch profile, and pressure cues, then translate that data into a digital last. From there, manufacturers print insoles using flexible plastics or foam-like lattices with zones tuned for support and shock absorption. The result is a pair of inserts designed to match your feet and your footwear category, whether that's a stiff alpine boot or a featherweight trail runner.
If you hike in diverse terrain, carry varying loads, or have feet that don't love off-the-shelf inserts, this class of gear is worth a look. Below is a practical guide to how the tech works, how it feels in the backcountry, and how to pick and care for a pair that pays off for your miles.
What Are Phone-Scanned 3D-Printed Insoles?
At heart, the product is a custom insole that slots into your footwear in place of the stock liner. The innovation lies in the workflow. Instead of visiting a fitter, you open an app, follow guided prompts to scan your feet, and specify how you plan to use the insoles. Under the hood, the app uses photogrammetry and machine learning to estimate 3D contours and gait-related cues. The manufacturer then fabricates the insoles using additive processes that allow for regional stiffness and thickness changes in a single print.
Most hiking-appropriate models rely on thermoplastic polyurethane (TPU) printed with selective laser sintering (SLS) or Multi Jet Fusion (MJF). TPU is resilient, water tolerant, and flexible enough to reduce harsh edges inside your shoes. In some designs, a ribbed or lattice midlayer acts like a miniaturized suspension bridge, flexing under impact and rebounding as you toe off. Others fuse a stiffer medial post with a cushioned forefoot, similar to traditional motion-control ideas but in a seamless, monolithic build.
Top covers vary. You'll see moisture-wicking microfiber for sweat management, low-friction nylon to minimize shear that leads to blisters, and occasionally a thin PORON or EVA foam layer to smooth impact. Backcountry walkers should lean toward covers that dry quickly and resist abrasion from grit, as trails rarely stay clean.
Unlike medical orthotics prescribed for pathologies, these insoles aim to improve comfort, support, and efficiency for otherwise healthy feet. Some services allow you to add metatarsal pads, heel lifts, or arch height targets. Most will ask your body weight and pack weight range to tune firmness. That last bit matters: a 60 kg day hiker with a 5 kg pack needs less compression resistance than a 95 kg thru-hiker hauling eight days of food and water.
Expect the scanning experience to take ten to fifteen minutes. You'll be asked to place your phone at ground level, step on a sheet of paper for scale, or use an included calibration mat. Good light and neutral backgrounds help. The cleaner your inputs, the better the output.
| Option style | Scan method | Core material | Weight (pair) | Tuning | Typical price |
|---|---|---|---|---|---|
| App-only custom lab | Phone photogrammetry with reference sheet | TPU lattice with microfiber cover | 90–130 g | Arch height, heel cup depth, forefoot flex | USD 120–200 |
| Hybrid heat-molded custom | Phone scan + home oven fit step | EVA/TPU shell with foam top | 80–110 g | Medial post firmness via mold | USD 90–150 |
| In-store pro scan | Structured-light scanner at retailer | TPU shell + interchangeable pads | 100–160 g | Zone pads and pitch shims | USD 150–250 |
| DIY kit with calibration mat | App scan with supplied mat and stand | MJF TPU with antibacterial cover | 85–120 g | Use profile (trail runner vs boot) | USD 110–180 |
While the prices still sit above premium off-the-shelf insoles, the delta is no longer shocking, especially if you amortize the cost over a full hiking season. Many services keep your foot model on file so you can re-order with modifications or request a duplicate pair tuned for colder weather (stiffer with thicker top cover) vs summer (more ventilated, slightly softer forefoot).
One more subtle advantage: stack height control. Because the build is digital, you can request specific thickness where your boot volume is tight, preserving toe box space. That customization can solve a surprising number of downhill toe bang and numbness complaints.
Trail Performance, Materials, and Fit
Comfort on trail is a mix of cushioning, stability, and friction control. 3D-printed custom insoles attack all three by mapping the shape of your arch and heel cup, then assigning material behavior zone by zone.
- Under the heel, deeper cups and slightly stiffer lattices capture the calcaneus and reduce side-to-side wobble. On off-camber tread and scree, that 'bucket' feel keeps your foot from sloshing across the footbed, which reduces blister-causing shear.
- Under the midfoot, tuned arch heights make contact without poking. Many hikers find that pressure is distributed more broadly than with one-size-fits-most inserts, which can feel like a ridge under the instep. With 3D-printed designs, the arch transitions are smoother and extend into the navicular area for a keyed-in feel.
- In the forefoot, a bit more give under the met heads spreads impact and helps stave off Morton’s neuroma aggravation. Some insoles include a subtle metatarsal pad; when tailored to your scan, it can offload the right spot without feeling like a pebble.
Compared with popular off-the-shelf options, custom printed models tend to sit between 'plush foam' and 'rigid support'. TPU lattices bounce back repeatedly without the squirm or permanent flattening of soft foams. That consistent behavior matters over long days: your foot learns what to expect and fires stabilizer muscles in a predictable pattern, which reduces fatigue.
In wet conditions, TPU insoles do not soak up water like thick foams. The top covers still hold some moisture but dry quicker than EVA-heavy inserts, and they avoid the soggy, heavy feel that can creep in after stream crossings. For shoulder seasons, some makers offer a felt or wool-blend top to limit cold seeping through thin trail runners. If you run hot-footed, prefer a slick, perforated microfiber cover that sheds sweat and fine dust.
Break-in is real. Even though the shape is engineered to you, your soft tissue adapts to new contact points and loading. Plan a ramp-up just as you would for new shoes: wear them around town for two days, take a short hike, then escalate to your normal distances. Watch for hotspots along the arch edge and fifth metatarsal; slight trimming of the cover or micro-adjustment of lacing often resolves early rub.
Durability varies with terrain and gait, but a good TPU-printed insole should survive 600–1000 trail miles. Abrasion on the cover and heel kick-down during steep descents are common wear sites. You can extend life by rotating two pairs or swapping in new top covers if your vendor supports it. Unlike foam-only inserts, TPU lattices do not take a set as quickly; if the support shape feels right on day ten, it will likely feel similar on day one hundred.
Stack height and shoe volume deserve special attention. Many hiking shoes and boots assume a thin stock liner. If your custom pair adds 2–4 mm in key zones, you might need to loosen laces more than usual or pull the factory insole to trace and trim for an exact outline. Keep the heel-to-toe drop of your shoe in mind: an insole with a thicker heel pad can effectively add drop, which some runners love and some hate. If you are sensitive to drop changes, ask for a uniform thickness profile.
On the trail, the biggest performance win many hikers report is reduced slop on traverses and fewer blisters on big descent days. That reduction in in-shoe movement compounds with every step, keeping skin layers from shearing. Combined with decent socks and foot care, custom insoles can feel like lowering the volume knob on all the foot noise you normally accept.
There are limits. If you have acute pain, numbness, or an injury history, these products do not replace medical evaluation. Likewise, if your gait issues stem from leg-length discrepancy, knee pathology, or hip mechanics, arch support alone will not solve it. Consider a consult with a sports podiatrist and ask whether a data file from a consumer scan could help inform a clinical device.
Buying, Setup, and Care
Choosing and dialing in a pair is partly technical, partly practical. Think through your primary use case, footwear, and break-in window before you hit 'buy'.
Match the model to your activity. If you mostly wear flexible trail runners and move fast with a light pack, pick an insole with a more compliant forefoot and modest medial support. If you are carrying heavy loads or spend time on talus in mids, look for deeper heel cups and a firmer midfoot lattice. For winter boots, request a slightly thicker top cover or pair with wool socks to limit conductive heat loss.
Scan like you mean it. Before scanning, sweep the floor to remove grit, wipe your feet, and ensure even light without harsh shadows. Follow the app's foot placement guide exactly. If the app offers multiple takes, use them. Avoid socks unless the instructions specifically require thin socks. If you have bunions or prominent navicular bones, call them out in the notes if the app allows. The algorithm can then add clearance or adjust contour transitions.
Confirm shoe size and trim carefully. When your insoles arrive, compare them to your factory liners. Trace and trim from the toe end in small steps. Many hikers ruin the fit by chopping too much. Your toes need full support under the met heads; if you cut too short, the edge can land under the ball of the foot and create a hot ridge. Keep a fine-grit sandpaper handy to smooth corners after trimming.
Break in gradually. Start with 1–2 hours of wear for the first two days, then a 5–8 km hike, and then your usual mileage. Expect mild, diffuse soreness as new contact points share load. Sharp, focal pain is not normal; stop and reassess fit if you feel it. Lacing can fine-tune pressure: loosen the forefoot for numb toes, lock lace the ankle for heel hold, or skip an eyelet to reduce dorsal pressure over high arches.
Care and field maintenance. Rinse dust and salt with cool water after long days. Hand wash occasionally with mild soap, rinse thoroughly, and air dry away from heat. Avoid leaving insoles on a hot dashboard; TPU will tolerate warmth but can distort under direct, focused heat. On multi-day treks, pull them at camp to dry overnight. A mesh stuff sack clipped to your shelter loop helps them air out without picking up debris.
Longevity and replacements. Track mileage and note when support feels slightly softer or when the top cover peels. Many vendors offer re-cover services or discounted reprints using your stored foot file. If your feet change—weight shifts, injury, or new footwear—rescan. Most apps will let you add a second profile so you can keep a 'boot' version and a 'runner' version on file.
Pack weight and weather tweaks. For trips with heavy resupplies or water carries, consider insoles printed with a firmer lattice setting. Some brands will let you put a note in the order for '50 lb pack days' and tune accordingly. In cold, a thin felt top reduces chill; in hot desert, a slick, perforated top helps reduce friction and grit binding. You can get surprisingly far with these simple material choices.
Compatibility with other foot care tools. Custom insoles play well with thin toe socks, leukotape on known hotspots, and forefoot cushioning pads. They are less compatible with thick gel pads that will raise your foot too high and alter the fit. If you need a heel lift for Achilles comfort, request it be built into the insole rather than stacking an extra wedge.
Field test checklist.
- Wear your hiking socks during initial fit checks.
- Trim in 1–2 mm steps; keep original liners as templates.
- Test on stairs and gentle slopes before committing to a big day.
- Pack a small pair of scissors and tape on your shakedown trip for micro-adjustments.
- Note any persistent rub during descents; adjust lacing pattern or consider a thinner top cover on reorder.
Quick FAQs
Not always. If your new shoes have similar volume and last shape, you can reuse the same file. If you switch from a roomy trail runner to a narrow alpine boot, request a thinner stack or adjusted heel cup to maintain toe room and heel hold. Many services let you reorder from your file with small tweaks.
Not always. If your new shoes have similar volume and last shape, you can reuse the same file. If you switch from a roomy trail runner to a narrow alpine boot, request a thinner stack or adjusted heel cup to maintain toe room and heel hold. Many services let you reorder from your file with small tweaks.
Adding thickness at the heel can increase effective drop; adding uniform thickness preserves it. For stability, a deeper heel cup and firmer medial arch can reduce pronation. If you are sensitive to drop changes, request a uniform thickness profile and check that the heel pad is not disproportionately thicker.
Adding thickness at the heel can increase effective drop; adding uniform thickness preserves it. For stability, a deeper heel cup and firmer medial arch can reduce pronation. If you are sensitive to drop changes, request a uniform thickness profile and check that the heel pad is not disproportionately thicker.
Many hikers find relief from consistent arch support and improved heel cushioning, which can reduce strain on the plantar band. However, if you have active plantar fasciitis, consult a clinician. These are comfort-focused devices, not medical orthoses.
Many hikers find relief from consistent arch support and improved heel cushioning, which can reduce strain on the plantar band. However, if you have active plantar fasciitis, consult a clinician. These are comfort-focused devices, not medical orthoses.
Pairs commonly land around 90–120 g. If you swap to lightweight insoles but can hike farther with fewer foot issues, the net efficiency gain is often worth the grams. You can request thinner top covers to shave a bit more weight, but do not compromise heel cup depth purely for weight savings.
Pairs commonly land around 90–120 g. If you swap to lightweight insoles but can hike farther with fewer foot issues, the net efficiency gain is often worth the grams. You can request thinner top covers to shave a bit more weight, but do not compromise heel cup depth purely for weight savings.
Finally, remember that the best insole becomes invisible. When custom geometry, zoned materials, and careful setup work together, the constant negotiation between foot and shoe fades into the background. Your mind stays on the ridgeline, where it belongs. Phone-scanned, 3D-printed insoles are not magic, but they bring the benefits of a bespoke fit within reach of more hikers than ever, with the added perk that you can order them from your kitchen table.